Your hairbrush collects more than just strands of hair — it traps oils, dirt, and residue from hair products every time you use it. Cleaning your hairbrush regularly not only keeps it hygienic but also helps it last longer and work better. Whether your brush is plastic, metal, or wooden, this step-by-step guide will show you exactly how to clean it properly and restore it to like-new condition.
Why Cleaning Your Hairbrush Matters
Over time, hairbrushes accumulate dead skin cells, natural scalp oils, lint, and even bacteria. When you keep using a dirty brush, all those impurities get transferred back to your clean hair, making it greasy and dull. Experts recommend cleaning your hairbrush once a week to prevent buildup and promote scalp health.
Method 1: Removing Hair from the Brush
Before deep cleaning, remove all the hair trapped between the bristles.
Step 1: Loosen the Hair
Use the pointy end of a rat-tail comb or a pick to lift the hair from the base of the brush. Gently pull upward until the hair starts to come loose.
Tip: If you have thick, matted hair on your brush, you might be able to pull it off by hand without loosening it first.
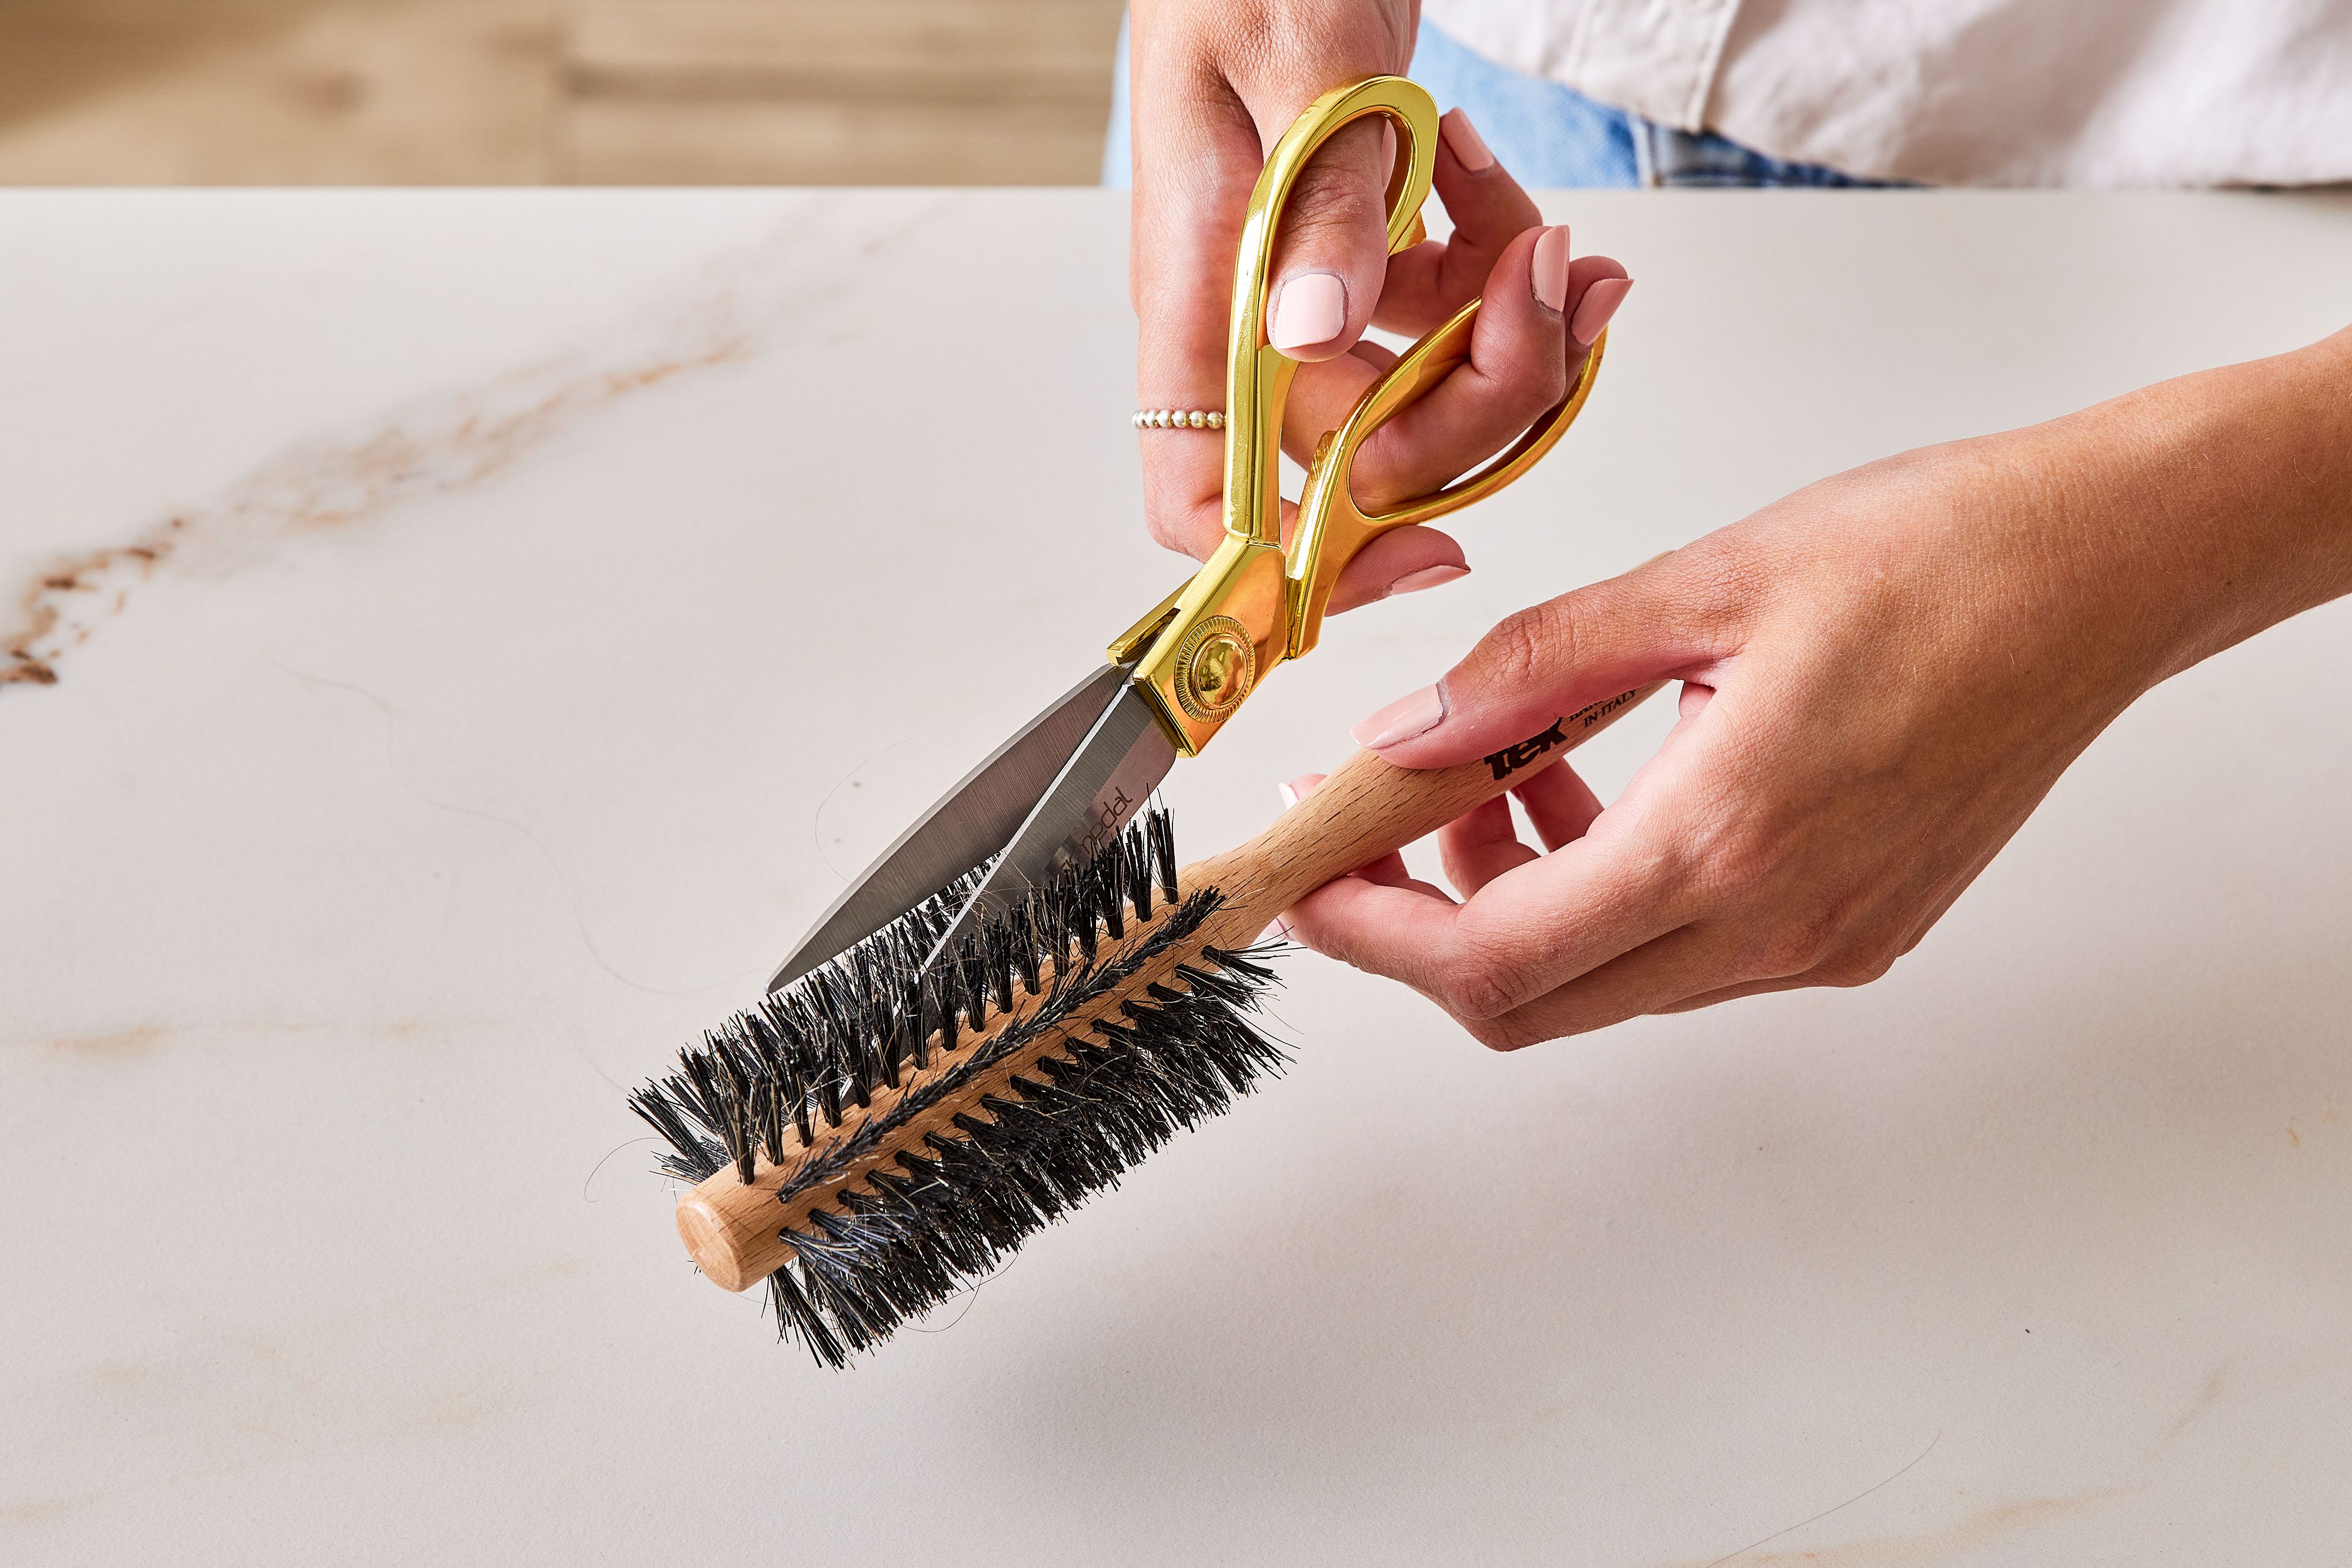
Step 2: Cut Through Tangled Hair
Take a pair of scissors and carefully cut through the middle of the trapped hair. Keep the scissors parallel to the bristles to avoid cutting them. This step helps you easily remove stubborn knots, especially on round brushes.
Step 3: Pull Out and Discard the Hair
Use your fingers to lift out all the loosened hair and throw it away. Turn round brushes as you work to remove hair from all sides. If your brush has natural bristles, pull the hair straight up to avoid bending or breaking them.
Method 2: Cleaning Plastic or Metal Hairbrushes
Plastic and metal brushes can handle moisture and deeper cleaning methods.
Step 1: Soak in Vinegar for Deep Cleaning
Place your brush in a shallow bowl with a solution of ½ cup vinegar and ½ cup warm water. Let it soak for 30 minutes to loosen oils, dirt, and residue.
-
Use white or apple cider vinegar.
-
Avoid this step for wooden brushes, as vinegar can damage the wood.
You can also substitute rubbing alcohol or hydrogen peroxide for extra disinfection.
Step 2: Mix a Cleansing Solution
Combine 1 cup of water, 1 teaspoon of shampoo, and 1 teaspoon of baking soda in a bowl. Stir until fully dissolved. Baking soda deodorizes and removes built-up product residue effectively.
Avoid using conditioner or bar soap, as they can leave sticky residue on your brush.
Step 3: Scrub the Brush
Dip a washcloth into the cleaning solution and wipe the brush. Then use an old toothbrush to gently scrub between the bristles and around the base to remove stubborn grime.
Step 4: Rinse Thoroughly
Rinse the brush under warm running water until there are no soap suds or residue left.
Step 5: Dry Properly
Pat the brush dry with a clean towel, then place it bristle-side down on another towel to air-dry. Never use a hair dryer, as heat can melt plastic or loosen glue in the brush base.
Step 6: Let It Dry Completely
Allow your brush to dry fully, ideally overnight. Avoid using it while damp, especially if it has natural bristles that can warp or break when wet.
Method 3: Sanitizing Wooden Hairbrushes
Wooden brushes need a gentler approach to prevent damage to the handle or bristle base.
Step 1: Make a Mild Cleansing Solution
Mix 1 cup of water with 5 drops of tea tree oil. This natural oil has antimicrobial properties that kill germs and refresh your brush without harsh chemicals.
Step 2: Wipe the Brush
Dampen a soft cloth with the solution and wipe the wooden handle and bristles gently. Use a toothbrush dipped in the mixture to clean between the bristles without oversaturating the wood.
Step 3: Dry the Brush
Since you shouldn’t rinse wooden brushes with water, use a dry cloth to wipe away any remaining moisture or oil. Avoid spraying or soaking the brush, as it can cause the wood to swell or crack.
Step 4: Air Dry Thoroughly
Place the brush bristle-side down on a towel in a well-ventilated area. Allow it to air dry completely before using it again. Wooden brushes typically take longer to dry, so leaving them overnight is ideal.
How Often Should You Clean Your Hairbrush?
For best results:
-
Weekly: Remove hair and clean plastic or metal brushes.
-
Biweekly: Sanitize wooden brushes with a light wipe-down.
-
Monthly: Do a deep cleaning with vinegar or baking soda for brushes used with heavy styling products.
Regular maintenance helps extend the life of your brush and ensures your hair stays clean and healthy.
When to Replace Your Hairbrush
Even with regular cleaning, hairbrushes wear out over time. Replace your brush if you notice:
-
Bent or broken bristles
-
A cracked handle
-
Persistent odor or residue buildup
-
Scratches that irritate your scalp
For most people, replacing a hairbrush every 6 to 12 months keeps your haircare routine hygienic and effective.
Final Tips for Hairbrush Care
-
Store your brush in a dry, clean drawer or pouch.
-
Avoid sharing your hairbrush with others to prevent bacteria spread.
-
Never soak wooden or cushioned brushes for long periods.
By following these steps, your hairbrush will stay clean, odor-free, and ready for daily use — keeping your hair looking fresh and healthy.