Vinyl records offer a warm, rich sound that digital music often can’t match. However, over time, dust, static, and grime can build up on your records, creating unpleasant pops, crackles, and distortion. To keep your vinyl collection sounding its best, it’s essential to clean and care for your records properly.
In this guide, you’ll learn how to clean records without damaging them, using both DIY and professional methods. Whether you’re removing surface dust or giving your LPs a deep clean, these steps will help preserve your vinyl’s quality for years to come.
Why Cleaning Your Records Is Important
Cleaning your vinyl records regularly prevents dust, debris, and oils from building up in the grooves. These particles can cause static, audio distortion, and even permanent damage to your stylus and record surface. A clean record also helps your turntable perform better, ensuring smoother sound reproduction and longer equipment life.
Things You’ll Need
-
Carbon fiber record brush or microfiber cloth
-
Distilled water
-
Mild dish soap
-
Record cleaning mat or microfiber towel
-
Isopropyl alcohol (optional)
-
Record cleaning solution or machine (optional)
Method 1: Cleaning Records by Hand
Step 1: Prepare Your Work Surface
Place your vinyl record on a microfiber towel or record cleaning mat. This protects the surface from scratches while absorbing any excess water. Avoid hard or rough surfaces that could scuff the record.
Step 2: Remove Dust with a Carbon Fiber Brush
Using a carbon fiber brush or microfiber cloth, gently wipe along the grooves of your record. Always move in a circular motion that follows the grooves—never across them. This removes loose dust and debris that can cause scratches during cleaning.
Step 3: Mix a Gentle Cleaning Solution
Combine distilled water with a few drops of mild dish soap in a bowl. Distilled water prevents mineral deposits that can occur with tap water. If you prefer, use a commercial record cleaning solution formulated for vinyl.
Step 4: Clean the Record Surface
Dip a clean microfiber cloth into the soapy solution, wring out the excess, and gently wipe the record along the grooves. Use light pressure and avoid soaking the label.
Tip: For mold or mildew, mix 1 part isopropyl alcohol with 3 parts distilled water and wipe gently. For sticky residue or paint, use the same mixture and a toothpick for precise removal.
Step 5: Rinse with Distilled Water
After cleaning, wet another microfiber cloth with plain distilled water and wipe the record to remove any soap residue.
Step 6: Dry Your Record
Use a dry microfiber cloth to gently pat the vinyl dry. Then, place the record on the mat or rack to air dry for at least 30 minutes. Ensure it’s completely dry before playing or storing it to prevent mold growth.
Method 2: Dusting Records Between Plays
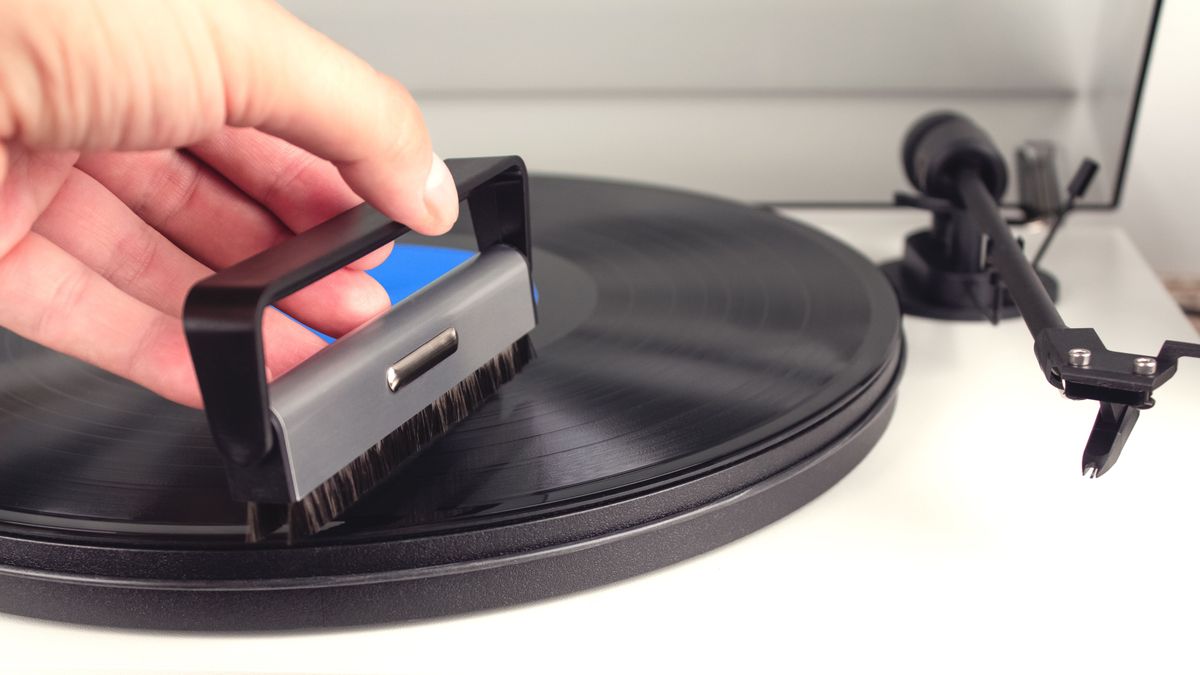
Step 1: Use a Carbon Fiber Brush
Before and after each play, dust your record using a carbon fiber brush. Place the record on the turntable, lightly rest the brush on it, and spin the record slowly with your fingers. This removes static and fine dust particles.
Step 2: Use a Microfiber Cloth
If you don’t have a brush, use a microfiber cloth to wipe the record in circular motions along the grooves.
Step 3: Spray Away Dust with Compressed Air
Compressed air can remove loose debris from grooves. Hold the can several inches away and spray gently. If condensation appears, wipe it away immediately with a clean cloth.
Step 4: Try a Record Roller
A record roller picks up dust using a soft, sticky surface. Gently roll it over your vinyl in circular motions. Wash the roller under water to remove buildup before the next use.
Step 5: Use a Record Cleaning Arm
Install a record cleaning arm on your turntable. It lightly brushes the record as it spins, reducing static and keeping your stylus clean.
Step 6: Prevent Dust with an Anti-Static Gun
An anti-static gun removes the static charge that attracts dust. Hold it about 12 inches away, squeeze the trigger, and release slowly several times around the edges of your record.
Method 3: Professional Record Cleaning
Step 1: Record Cleaning Kits
Record cleaning kits typically include a soft brush and a special cleaning solution. Follow the kit’s instructions to safely deep-clean your vinyl without scratching.
Step 2: Record Washing Machines
These small machines clean both sides of your record simultaneously using distilled water and cleaning fluid. They are ideal for serious collectors who want professional results.
Step 3: Record Vacuum Cleaners
Record vacuum cleaners provide the most thorough cleaning by sucking away dirt and debris from deep within the grooves. Although expensive, they’re excellent for maintaining large vinyl collections.
Method 4: Proper Vinyl Record Care
Step 1: Handle with Clean, Dry Hands
Always hold records by their outer edges or the center label to avoid fingerprints and oils that can affect playback quality.
Step 2: Store Records Properly
Keep your records in anti-static plastic sleeves to protect them from dust and static buildup. Avoid paper sleeves, which can scratch the surface.
Step 3: Store Vertically
Never stack records flat. Store them vertically with space between each to prevent warping. Keep them away from direct sunlight, heat, and humidity.
Step 4: Keep Records Dry
Ensure your records are completely dry before playing or storing them. Moisture can cause mold and mildew, permanently damaging your vinyl.
Extra Tips for Long-Term Vinyl Maintenance
-
Clean your stylus regularly using a stylus cleaning brush.
-
Avoid touching the grooves of your records at all times.
-
Replace worn-out brushes or cloths regularly to avoid scratching.
-
Keep your record player dust-free and properly calibrated.
By following these steps, you’ll preserve your vinyl records’ sound and condition, allowing you to enjoy your favorite albums for decades.


