Cleaning silver coins can be tricky. One wrong move can destroy their shine, historical value, or even reduce their market price by half. If you’re a coin collector or simply own some old silver coins, learning how to clean silver coins without damaging them is essential. This detailed guide walks you through safe cleaning methods, professional conservation tips, and what to avoid to keep your coins pristine and valuable.
Why Cleaning Silver Coins Is Risky
Many professional numismatists (coin experts) strongly advise against cleaning collectible coins. That’s because improper cleaning can scratch or dull the surface, removing the original “patina” — a layer of oxidation that actually adds value to rare coins. However, not all silver coins are equal. While rare or historical coins should remain untouched, common or non-collectible coins can be safely cleaned using the right approach.
Method 1: Gentle Cleaning Methods (Recommended for Valuable Coins)
Step 1: Handle Rare Coins with Care
When working with silver coins, always hold them by the edges — never touch the flat surfaces. Natural oils from your skin can stain or corrode the silver over time. For best protection, wear lint-free cotton gloves while handling your collection.
Pro Tip: Store your rare coins in Mylar plastic flips or coin capsules to prevent PVC damage and air exposure.
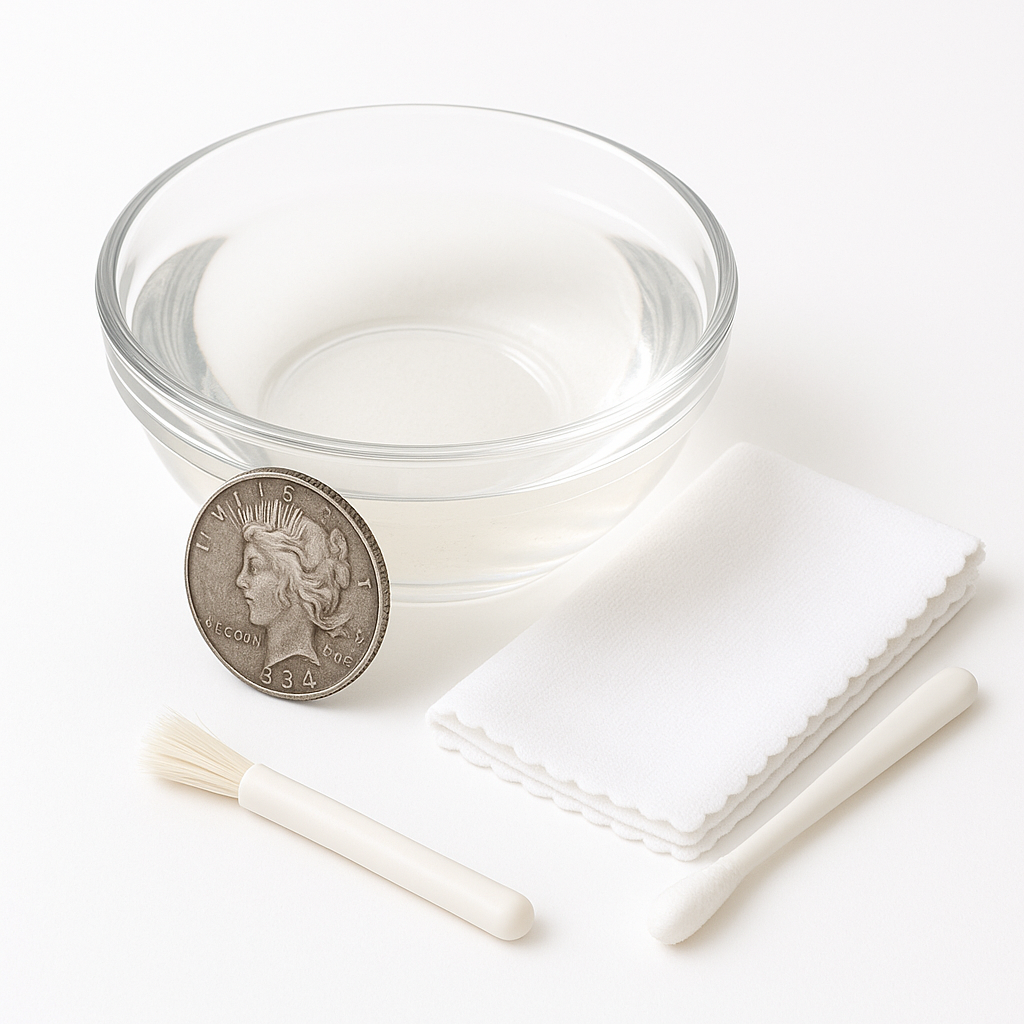
Step 2: Soak Coins in Warm Distilled Water and Soap
Fill a glass bowl with distilled water and a few drops of mild soap (avoid detergents). Let the coins soak for several hours, occasionally flipping them over. Distilled water prevents chlorine staining, which can occur with tap water.
Important: Tarnish (the grey or black film on silver) is not dirt. For collectors, this “toning” is often desirable and should not be removed.
Step 3: Replace Water Daily
If the coins remain dirty, refresh the soapy distilled water every 24 hours. Continue soaking for several days until the grime lifts naturally without scrubbing.
Step 4: Dry the Coins Carefully
After cleaning, gently pat coins dry with a soft paper towel or microfiber cloth. Never rub — rubbing causes micro-scratches that permanently affect the coin’s value. Allow them to air dry completely before storing.
Step 5: Use the Freeze-Cleaning Technique
Still see dirt trapped under the surface? Try the freezing method:
-
Soak coins again in distilled water.
-
Place them in a small plastic container and freeze overnight.
-
As water expands during freezing, it loosens embedded dirt.
-
Remove and pat dry — repeat several times if needed.
Step 6: Remove Tough Dirt with Oil Soaks
For coins with stubborn grime or mud:
-
Soak them in mineral oil (safest option) or olive oil.
-
Leave them submerged for weeks or even months.
-
Once dirt loosens, wash with mild soap and rinse with distilled water.
-
If you used mineral oil, wipe with a cotton swab dipped in acetone to remove residue.
Olive oil works too but has a slight chance of leaving stains. Use cheap, non-virgin oil for best results.
Step 7: Ultrasonic Cleaning (Optional)
For light dirt buildup, an ultrasonic cleaning machine can help. These devices use vibration to shake off dirt.
-
Use soapy distilled water for the inner cup and pure distilled water for the main bath.
-
Run for only a few minutes, then brush gently with a soft toothbrush.
This method is safe for most coins, but professional-grade machines should be handled with care.
Method 2: Harsh Cleaning Methods (For Common Coins Only)
If your silver coins are not collectible and you simply want them to shine, you can try more aggressive cleaning methods. Use these cautiously.
Step 1: Use Caution
Cleaning collectible coins can reduce their value by 50% or more. Only proceed if your coins have no numismatic value.
Step 2: Pick Out Dirt with a Toothpick
After washing the coins, remove remaining grime in small crevices using a toothpick or bamboo skewer. Avoid scratching the surface or removing natural toning.
Step 3: Apply Silver Polish
Commercial silver polish contains acids and abrasives that remove a thin metal layer.
-
Apply a small drop to a soft cloth.
-
Fold it and gently rub both sides of the coin.
-
Wipe clean with a fresh section of the cloth.
This method restores shine but permanently alters collectible coins.
Step 4: Use Baking Soda and Water Paste
For a milder alternative, make a thin paste of distilled water and baking soda. Rub gently between your fingers for one minute, rinse, and repeat as needed. Avoid harsh scrubbing.
Step 5: Try a Vinegar and Salt Bath
Mix ½ cup vinegar and 1 tablespoon salt in a jar. Submerge the coins for no longer than 2–3 minutes while stirring.
Then rinse with distilled water immediately to stop corrosion. Leaving coins too long in vinegar can erode fine details.
Step 6: Remove Hard Deposits with Ammonia
If your coin has stubborn “horn silver” (silver chloride), soak it briefly in a 10% ammonia solution. Rinse and brush gently.
⚠️ Warning: Ammonia fumes are toxic. Use gloves and work in a well-ventilated area.
Step 7: Extreme Cleaning (Last Resort)
If the coin is heavily corroded and has no collector value, try one of these:
-
Soak in 50/50 lemon juice and distilled water for one hour.
-
Or soak in lemon juice and olive oil, slightly warmed in a water bath.
These methods strip tarnish completely, restoring bright silver but risking surface damage.
Final Tips for Cleaning Silver Coins
-
Avoid toothpaste, baking soda scrubs, or metal brushes.
-
Never use tap water for final rinsing.
-
Always test on a less valuable coin first.
-
When in doubt, consult a professional numismatist or submit coins for professional conservation (e.g., through NGC).
Conclusion
Cleaning silver coins requires patience, care, and the right materials. If your coins hold historical or collectible value, gentle cleaning and professional conservation are always best. For less valuable or silver-bullion coins, the mild methods above will restore their shine without harm.


