If you use your computer frequently, your keyboard probably gathers dust, crumbs, and oils from your fingers over time. The once-shiny keys may now look dull or sticky, and if left unattended, this buildup can affect performance. Fortunately, if you have a mechanical or removable-cap keyboard, you can easily clean your keycaps without damaging your device.
In this detailed guide, you’ll learn how to remove keyboard caps safely, clean them thoroughly, and reassemble your keyboard like new using simple household tools.
Why Cleaning Your Keyboard Keycaps Matters
Keyboards are one of the most frequently touched devices in any workspace. They collect bacteria, sweat, crumbs, and dust faster than most realize. Cleaning them not only restores appearance but also helps maintain hygiene and prevents sticky or unresponsive keys.
A clean keyboard improves typing comfort and can even extend the life of your keys and switches.
Step-by-Step Process to Remove and Clean Keyboard Caps
1. Disconnect Your Keyboard and Prepare Your Workspace
Before cleaning, unplug your keyboard if it’s wired, or turn it off if it’s wireless. This prevents any accidental key presses and ensures safety.
Lay down a soft towel or cloth to avoid scratching your keycaps or desk surface.
2. Use a Keycap Puller to Remove the Keys
A wire keycap puller is the best tool for the job because it grips the key evenly and won’t scratch it. Insert the wire loops diagonally under each keycap, gently wiggle, and pull upward.
-
Take a photo of your keyboard layout before removing the keys to remember their positions.
-
Avoid large keys like the spacebar, Enter, and Shift unless you’re familiar with stabilizers—they can be tricky to reattach.
-
If you don’t have a keycap puller, use tweezers, a flathead screwdriver, or a bent paperclip carefully.
3. Remove Loose Debris with Compressed Air
Once the keycaps are off, dust and crumbs will likely remain around the switch stems. Use compressed air to blow away debris from the surface and between the switches.
Hold the can upright and spray in short bursts. You can also use a soft-bristle toothbrush or damp microfiber cloth to wipe away remaining particles.
4. Soak the Keycaps in Warm, Soapy Water
Fill a bowl with warm water and add a few drops of mild dish soap. Stir until bubbles form, then place your keycaps inside to soak for at least 30 minutes.
If your keys are especially grimy, add two denture-cleaning tablets to the water. They help lift oils and stubborn dirt effectively.
Avoid using hot or boiling water, which can fade printed legends on the keys.
5. Scrub and Rinse Each Keycap
After soaking, use a soft toothbrush or cotton swab to gently scrub each keycap, focusing on corners where dirt often hides.
Rinse the keys thoroughly in clean water using a strainer or colander to ensure all soap residue is removed.
6. Let the Keycaps Air Dry Completely
Lay the rinsed keycaps on a towel with the stems facing upward. Allow them to air dry for at least 24 hours. This step is crucial because moisture trapped inside the keycaps can damage your keyboard’s switches.
You can also gently pat them dry with a microfiber cloth to speed up the process. Avoid paper towels since they can leave lint or scratches.
7. Reassemble Your Keyboard
Once the keycaps are completely dry, use the photo you took earlier to correctly reattach each key. Align the stem with the switch and press firmly until it snaps into place.
After all keys are installed, plug your keyboard back in and test every key to ensure proper function.
Bonus Tips for Maintaining a Clean Keyboard
-
Clean weekly: Wipe your keyboard with a damp microfiber cloth or use compressed air.
-
Deep clean monthly: Remove keycaps for a thorough wash.
-
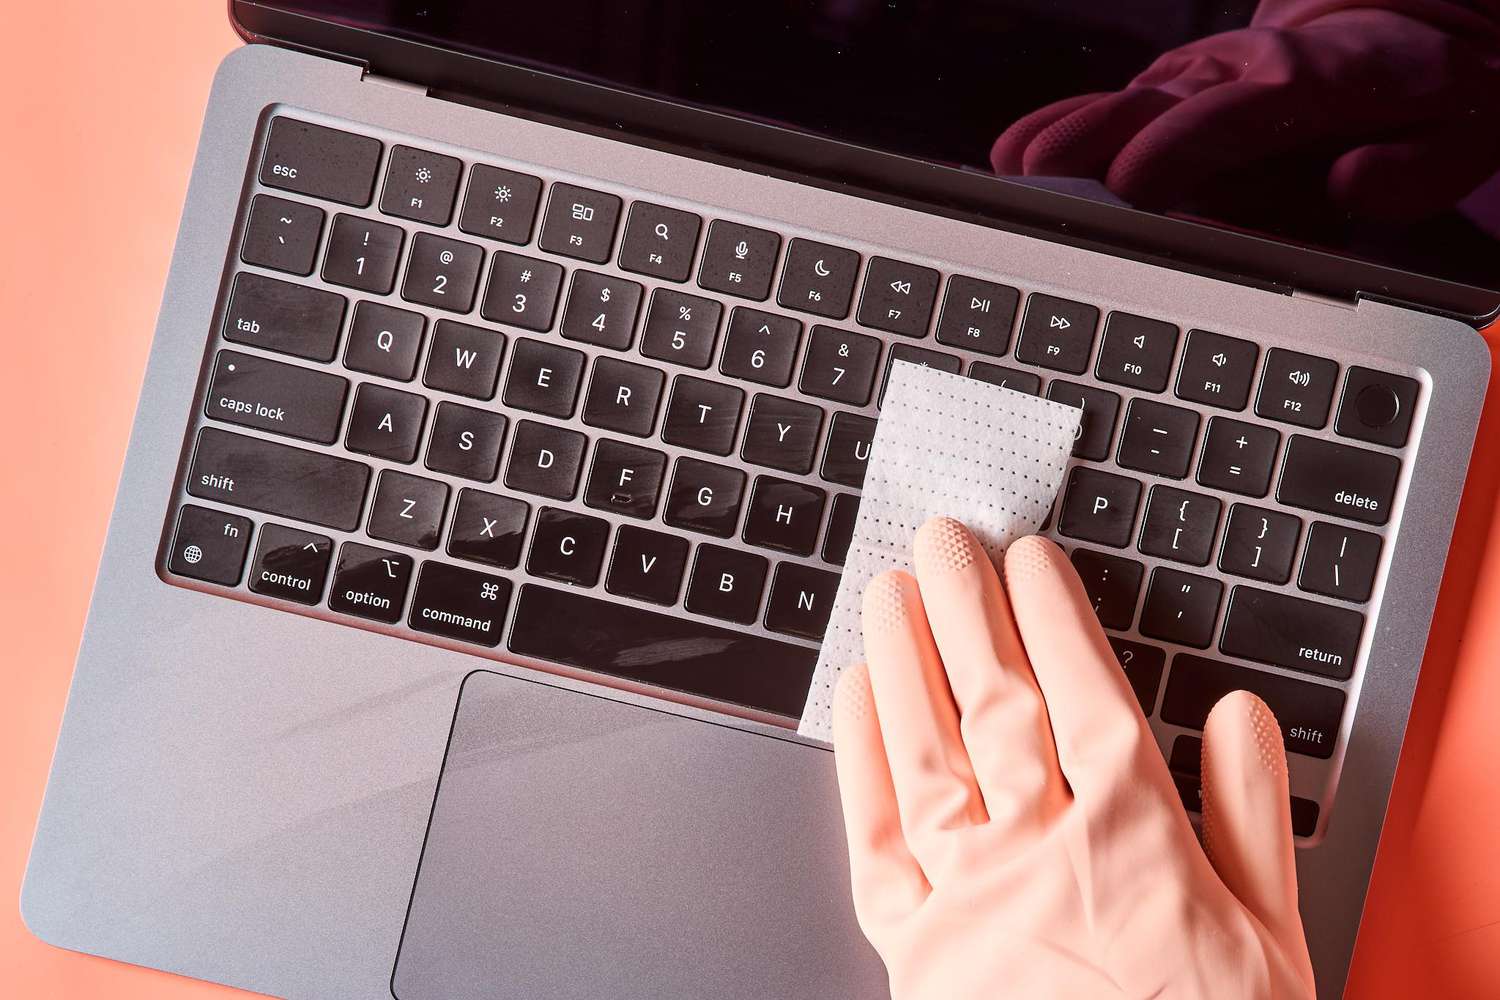
Disinfect properly: Use isopropyl alcohol or hydrogen peroxide wipes to kill germs.
-
Avoid eating near your keyboard: Crumbs and spills are the top causes of grime.
By maintaining a regular cleaning routine, your keyboard will not only look better but also perform smoothly for years.
Final Thoughts
Learning how to remove keyboard caps to clean them is one of the easiest maintenance habits any computer user can develop. With just a few simple tools and some patience, you can restore your keyboard’s shine, improve hygiene, and keep it functioning like new.


